Friday, 14 October 2011

SHORT AND BROAD LIGHT WORKSHOP

SHORT LIGHTING

In this lighting effect the face turned away form the camera is lit.

Diagram of set up ...


This effect is a lot more flattering than broad lighting.

BROAD LIGHTING

Diagram of set up...


In this position the side of the face turned to the camera is lit. It is less flattering especially if the model has a wider face than short lighting.


STANDARD LIGHTS WORKSHOP

STANDARD POSITIONS OF LIGHTING


On Moday the 10th of October we looked at one light set- ups and the 4 standard light positions in a studio. They are :- 
Rembrandt lighting- light is high and at the side of the face that is facing away from the camera. Forms a triangle of light on the right side of the face.
Hollywood lighting- light is pushed further around the subject and is about 90 degrees from the camera. Emphasis on the models nose.
Butterfly lighting- light is high in front of subject, giving them a distinct butterfly shaped shadow under their nose.
Side lighting- the light is around to the left or right, creating strong contrast.

With the four standard positions we also introduced reflectors to see how the shadows and lights strength can be modified.


REMBRANDT LIGHTING
(all images have ISO 100)


f 5, 1/100 secs

It is clear that a triangle of light has formed on the right side of her face. Particular emphasis on the face not her clothes.


This rembrandt lighting but with a reflector on the right side to reduce the triangle of light but is still visible. We  reduced the aperture to 4. This effect is a lot lighter, now there is less emphasis on her face. 


HOLLYWOOD


f 5.6, 1/100

We moved the light further round the back for this position so therefore the light shines onto the left side of the face, the light has alos caused emphasis on her nose in this shot. The positon is quite a dark one, there is only light to the left edges of her face. 


Introducing a reflector has prevented an large emphasis on her nose and has also limited highlights on her face. As there if more light on the model we increased the aperture to 6.4 to decrease the amount of light being let into the camera when taking the image.


BUTTERFLY


f5.6, 1/100
In this image we were told we had to look towards the light and have the position of light in front of the model and quite high. It also has formed a butterfly shaped shadow under the nose of the person. This is the lightest effect so far there is only darkness furthest right of the face. 


Introducing a reflector to the bottom of the model has created a glowing effect, when you have a light or a reflector in this position it is known as clamshell lighting. Again we increased the aperture slightly to prevent more light into the image.


SIDE LIGHTING


f8, 1/100
This has created a really dark side then a light side creating contrast. We didn't add and reflector as this would defeat the object of this position. 


Out of these positions I prefer the butterfly and clamshell lighting as it is the most flattering out of the positions, I think I would consider this for future portraiture shoots, especially if I promoting a feature of their face...


MODIFICATION OF LIGHT WORKSHOP

On Monday the 3rd October we did exercises based on the modification of light. Using the clip lights and screens we observed how lighting our object changes  depending on which modification we used. To get used to what the different modifications did we firstly tried this with a head already at uni, then we tried our own objects, one figurine and one transparent object. This would help us recognise the lights effect on different types of objects and their qualities...

DIRECT UNMODIFIED LIGHT


In the three above image we used the light on its own, this has created a harsh lighting effect on the left side of the object and also harsh shadows. In the head because there is a lot of light on the left some details of the face have been lost for example the eye. To control this an reduce harshness we would have to add a diffuser to create a softer tone, so this is what we did...

LIGHT DIFFUSED THROUGH A SCREEN


In these images we held up a diffuser screen to the front of the light on the left, this has created softer tones and played down the shadow strength, I like this effect due to its subtlety. On the perfume bottle the light isn't as harsh on one side the light has bounced through the glass and illuminated the right side also, this is due to its transparent nature.

LIGHT BOUNCED OFF A REFLECTED SURFACE

Another way to let the light shine onto the right side is by using a reflector on the right. 


In the image there is still more light on the left but it is a lot less noticeable, this also has decreased the strength of the shadow on the right hand side.


In this image we used direct light but used the warm side of the reflector to bounce back some of that light. By using the warm side it creates a darker reflection of light.


In this image we used the diffused light and the white Styrofoam reflector. 


Warm reflector, direct light.


Diffused light, white reflector, ths reflector has more chance of reflecting the most light back because of its white quality.

LIGHT THROUGH PAPER/ SNOOT


This has created a small area of focus on the head.


This snoot is a little larger than the next image, we placed the focus slightly behind the object which has made the transparent object gleam.


Smaller area of focus, on lid of bottle.


Using a black peice of paper has made us able to funnel the light into a specified area, this has allowed us to create a sense of preference on the objects. On the figurine it has created some shadow and again focused on the left side of the face


DECISION OF FAVOURITE MODIFICATION

Having looked at all the modifications on the objects I really like the diffused light it is more subtle and softer. There is no main area of focus using this modification as the shadow is decreased and also the harshness of the light.


Friday, 7 October 2011

LIGHT AROUND PEOPLE WORKSHOP

 Here we drew around people using objects as well for example a chair...


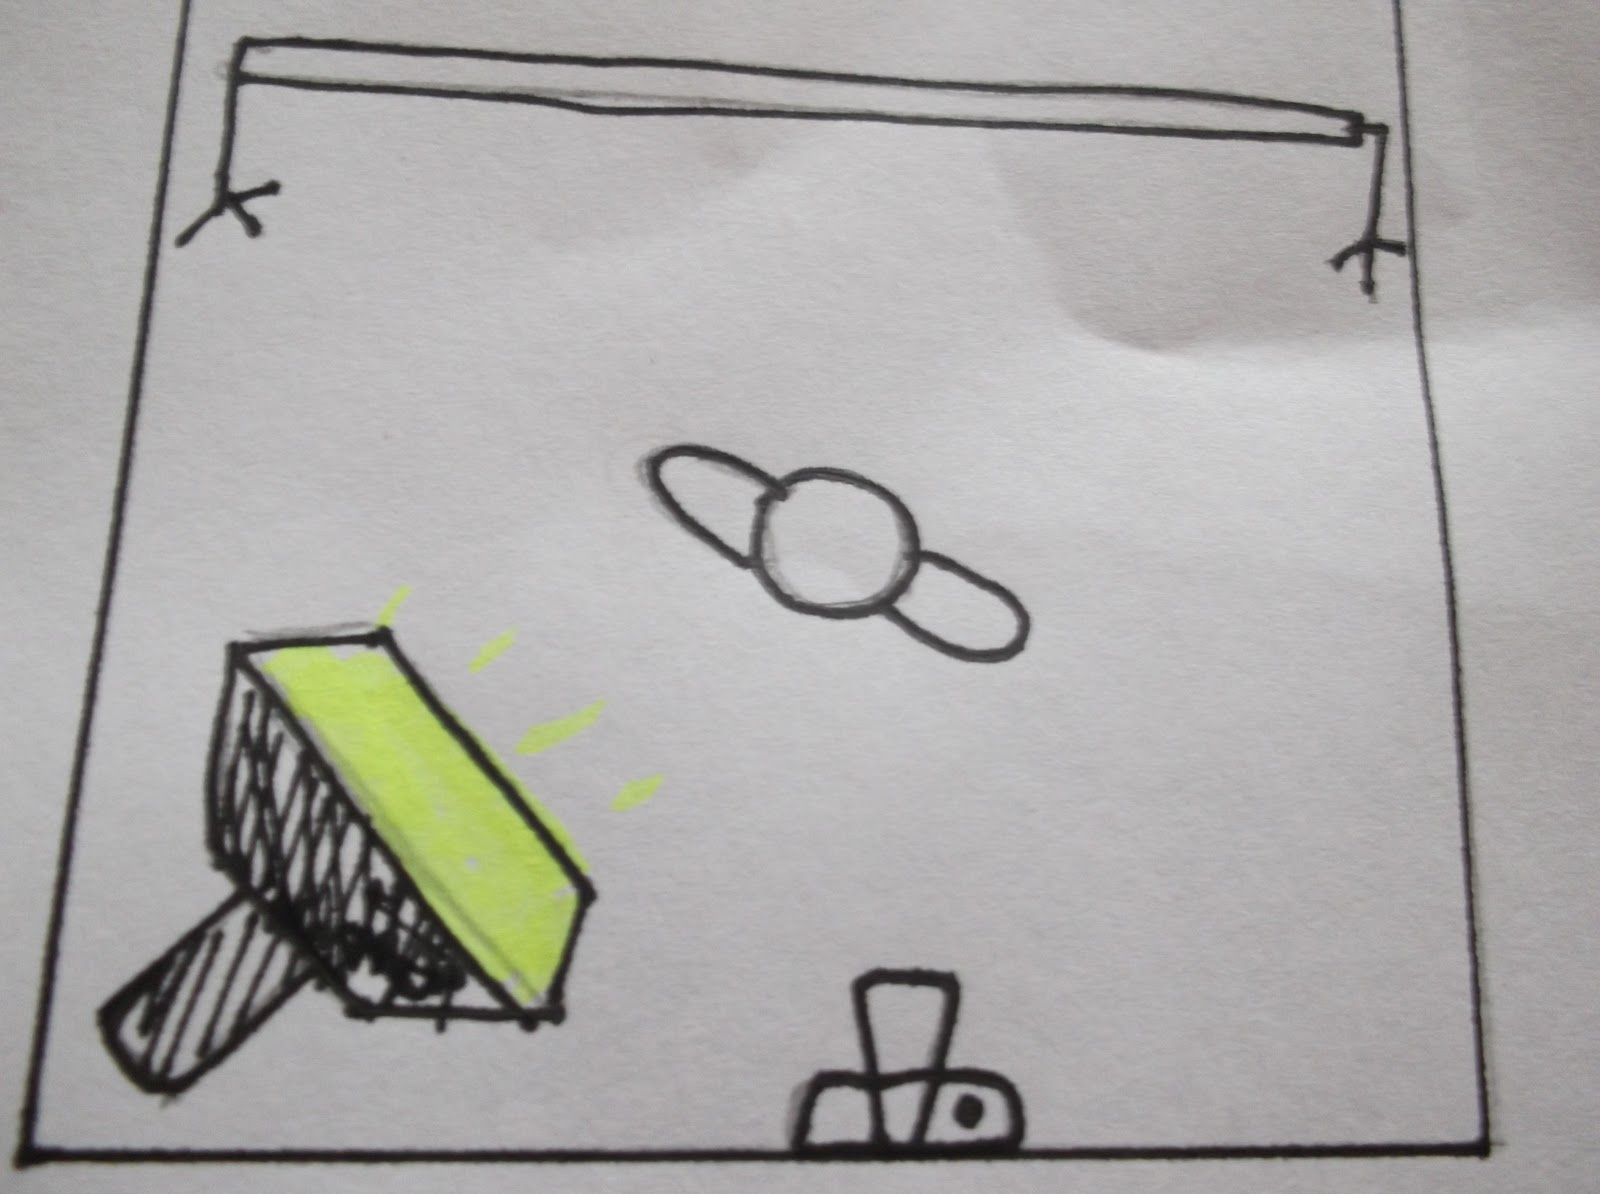
Here odly we put a cheese grater on the persons head with a glow stick inside it. Then we drew down a line of light from the object which reinforces the shape of her sitting position


We drew symbols near the mouth of the person in this image as if she was shouting.


The light shining behind the person makes her almost glow.

LIGHT WRITING IN STUDIO WORKSHOP

The following images have been done in the studio with the lights off using objects around us and numorous lights...


Here I wrote my name using a torch which came out okay.


Here I drawed a heart and kept overlapping the shape, obviously it is hard redrawing it in the same position, and if I could redraw the heart in the same position it may have overexposed.

ILLUMINATING OBJECTS WORKSHOP


Lighting up objects in different ways
Bottle


In this image we put a glow stick on the back of the bottle, we also waggled a light down the left side of the bottle.

I really like the alien feel to the image. We wrapped the green glow stick around the neck of the bottle and put an orange stick on the bottle at the back.


The lights on the bottles illiterates the shape of the bottles.

Head


Here we put the green glow stick behind the two objects therefore creating a large glow around the composition.


A white light is being shown above the head, creating an angelic feeling to the image.


Under the light table we used the flash light that is turning on and off drawing a circle with it through the table.


The white light comes in from the left.


MULTIPLE EXPOSURE

This was my second time in a studio, I had done a shoot once before at college. On Monday we were given four stations: multiple exposure, light drawing, drawing around people and illuminating objects. In the four tasks we were able to gain more of an understanding of longer shutter speeds. So here are the results:-

MULTIPLE EXPOSURE

Multiple exposure is where you catch rapid movements in one image. We used a flash at each stage of a movement to catch discrete steps.

RESEARCH

EADWARD MUYBRIDGE

Multiple exposure was first attempted by Muybridge, he develepod the Zoopraxiscope in 1879 which projected a series of movements with multiple cameras. Here is a few of his images...


Instead of putting several movements into one image like I will be doing here Eadward has used a series of photos to capture a couple dancing.

Whilst Eadward used mutiple images to capture movement Eakins developed a single negative to capture a movement.


EAKINS


These images of Eakins are more like my images of multiple exposure. I really like the way the pole is always down to the centre of the image and the person is above it, it looks as if a pattern is being created.


A simalr photographer to Eakins is Harold Edgerton.


HAROLD EDGERTON


Stage by stage in this image we can see the diver getting closer and closer to the water.


MY EXAMPLES OF MULTIPLE EXPOSURE...


In this image we stood one behind the other each raising our arms at different intervals.


This is me coming closer to the camera each time the flash is on.

In this image we planned to stage a fight and record it using this tecnique...

The only problem in this image is the white glow area in the top right.